I noticed most of the search terms that have brought people to my blog lately have been “Call the midwife” and “blanket”, which I suspect means people have come here looking for instructions. I hate to disappoint my readers, so this is a post about blankets and blanket squares and how to make them.
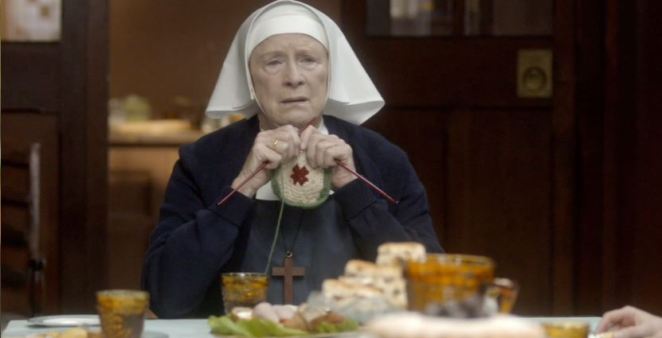
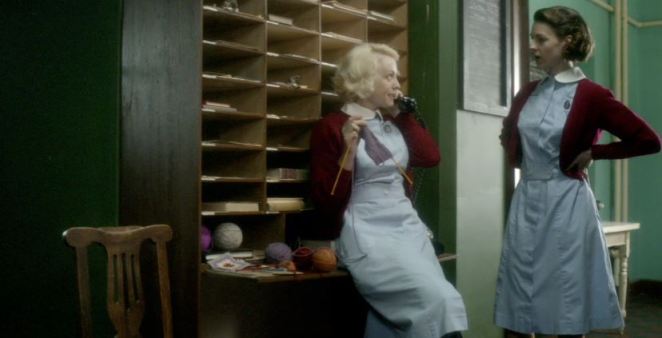
Let’s get one thing over and done with right away. They are knitting! Crocheted squares! They are actually grasping crocheted squares and pretending to be knitting them! I still cannot believe that in a show that has such high production values, with such detailed research to get all the little details right, they would let such howling, obvious mistake slip through. I’m looking at you, Heidi Thomas. And you too, Pippa Harris. And at you, Laura Main, even though you were still in the sanatorium, thinking about that nice doctor. Why yes, none of you involved will probably ever be allowed to live it down 😉
No wonder she looks confused, she’s trying to knit a crocheted square.
Trixie, by the look of things, is making a scarf rather than a square. Love the incredibly round balls of yarn – mine are always all lopsided.
When Sister Evangelina suggests that Sister Monica Joan should make blanket squares, Nurse Jenny thinks she will bored to tears. Trust me, that can happen. I just finished a blanket, and it took me nearly two years to do it. I took breaks. Long breaks. Because I was a bit, you know, bored with it. But, I’m really glad and proud I finally finished the blooming thing, and it was really quite enjoyable, in a strange sort of way, in the end.
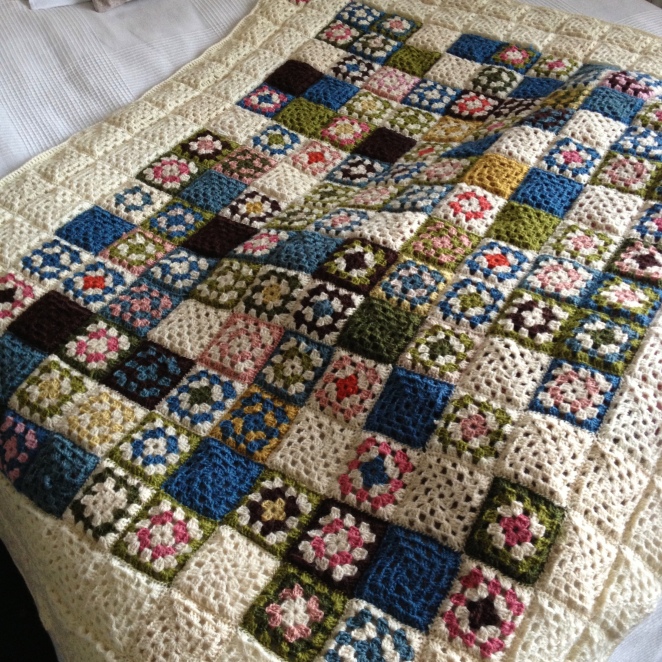
And here it is. Please note that this picture was taken pre-steaming.
The yarn I used has a bit of history behind it. About 20 years ago my mother and my aunt both made ryijys (traditional Finnish decorative tapestry-type thingies). There was some leftover yarn, all in lovely earthy colours, so I hang onto it, and ultimately brought it with me to the UK, intent on making something. I managed one sock, which I quickly undid, and finally couple years ago settled on granny squares. I originally intended to make couple of cushion covers, but got ambitious somewhere along the way and went for the blanket instead. I didn’t have quite enough colourful yarn to make the blanket big enough, so I added couple of layers of plain white squares around the original squares. I rather like the Arts and Crafts, Charleston House look of the whole thing, even if the colours are not completely balanced, and some of the white yarn I used is slightly different shade and texture.
Anyway, you’re here because you want to make your own. There are plenty of instructions online how to make granny squares, and all are better than what I could come up with, so I won’t even try. This set of videos is very good, showing you step-by-step how to make the basic stitches needed. Follow these instructions, and you should do fine – this is a very simple technique, and once you have it down, you can make them quickly, in huge quantities, and make them very colourful. I got a bit bored with the basic model, so I varied it occasionally – making the centre round, using cluster stitches rather than columns and so on. Once you have learned a few stitches and got a hang of how they work together, you can make your own designs easily. Also, check online and study images – there are literally dozens of granny square patterns, and they are all reasonably easy. I finished my blanket with an edge of simple columns (also called double stitches in some instructions) – the effect is neat and makes the seams stronger. I joined with needle, but you can also crochet the squares together. When all that is done, don’t forget to steam your blanket – this smooths and relaxes the squares together and just generally makes the blanket look nicer. I prefer to use a spray bottle, very hot iron setting and an old-fashioned cotton nappy for the steaming. Opening a window is useful too.
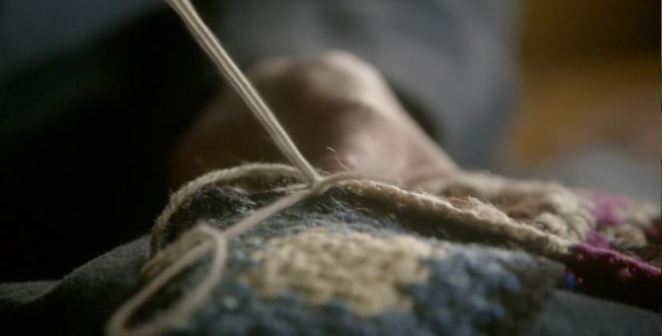
(Okay, the colours are really much nicer and warmer than this.)
Few words about materials. Blanket squares are popularly considered something you can make with leftover yarn, but couple of important things apply here. First, make sure all your yarn is made of same fibre – mine was all 100% wool. This is important in case you ever want to wash your blanket (and you probably eventually will, after all that trouble) – different fibres wash differently meaning the whole thing could be ruined. Second, make sure all your yarn is roughly the same thickness. Mine was mostly two-ply, with some three-ply of similar thickness in the mix, and while the resulting squares are same size, the three-ply ones have just a little bit different texture. If some of your yarn is much thicker, the squares may not fit together properly, and again may react differently when you wash the it. Avoid any yarn with acrylic in it. It squeaks when you crochet it, feels nasty and will start looking bad very quickly (the softer and fluffier, the worse it will look). Smooth, 100% cotton is traditional, very easy to crochet, and will look cheerful and is easy to treat. It will be particularly good if you are making a baby blanket (it’s soft against baby’s skin). I loved the two-ply wool – it was a bit harder to use, since this particular type had a slightly rough texture, but the end result is stunning, a very traditional, rustic look.
Make sure you have enough yarn – the yarn from my mother all came in ready balls, so I don’t know exactly how much there was of it. The white edge took about seven 50-metre skeins, so for the whole thing I would say about 24 – which is a lot, but my blanket still isn’t as big as the one they make for Chummy, so prepare to get loads. Pick a yarn that will be available for couple of years at least, in case you need to buy more. Go nuts with colours – you can make every layer different colour, or play with combinations. As for the hook, check the paper “belt” around the skein – it says what size you should be using. Buy two, just in case. You’ll also need a blunt needle for joining the squares- again, buy a few because they are just about the easiest thing to lose. That paper belt also tells you what material the yarn is and how to wash it, so keep one as a reminder. There is usually also a number code for the colour, and for the batch it was dyed in. This is more important if you are using just one colour, as the shade might differ just a tiny (but visible) bit from batch to batch.
Now, get crocheting! It’s fun and gives your hands something to do while you watch TV or listen to music, and in the end you’ll have a blanket. Or at least a pile of squares.
(Edited for clumsy language. And bad punctuation.)


